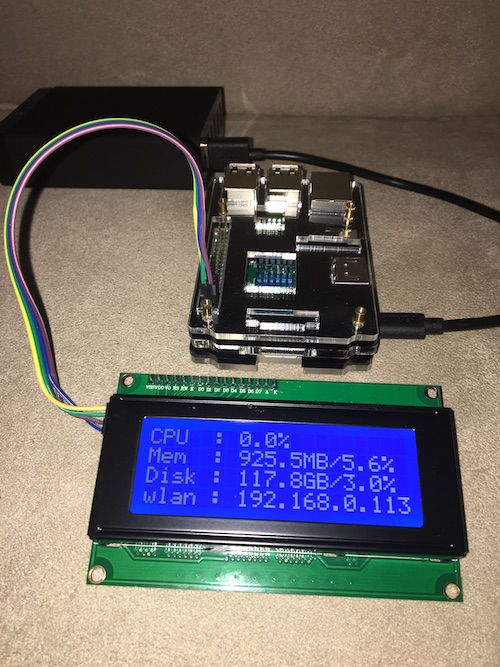
It’s actually pretty easy to connect an I2C LCD display to the GPIO of the Raspberry PI. This is particularly useful for headless PI, which are used as pure servers, without any external display.

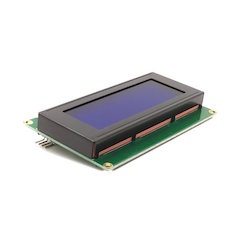
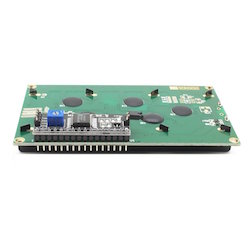
I ordered a cheap 20x4 LCD Display Module Shield. This panel uses a small ‘backpack’ — similar but not identical to the Adafruit I2C backpack — to take the panel output and put it onto the I2C bus. Wiring the panel to the Pi’s GPIO headers needs just 4 wires: +5V, GND, SDA, and SCL.


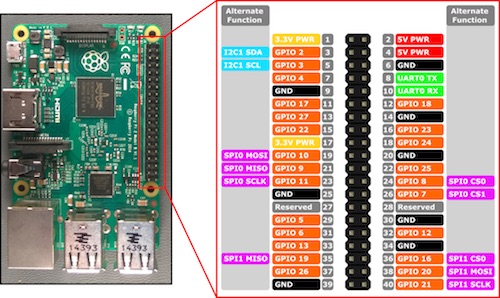
Below is the Raspberry Pi 2 & 3 Pin Mappings:

So connect the PINs 3, 4, 5 & 6 and you’re good to go.
After connecting the panel you’ll need to enable I2C with raspi-config Advanced options and install the I2C tools and associated Python libraries.
sudo apt-get install i2c-tools
sudo apt-get install python-dev
sudo pip install psutil
Check if the LCD display is recognized and collect its address with the command sudo i2cdetect -y 1. You should get something like:
0  1  2  3  4  5  6  7  8  9  a  b  c  d  e  f
00:          -- -- -- -- -- -- -- -- -- -- -- -- --
10: -- -- -- -- -- -- -- -- -- -- -- -- -- -- -- --
20: -- -- -- -- -- -- -- -- -- -- -- -- -- -- -- --
30: -- -- -- -- -- -- -- -- -- -- -- -- -- -- -- 3f
40: -- -- -- -- -- -- -- -- -- -- -- -- -- -- -- --
50: -- -- -- -- -- -- -- -- -- -- -- -- -- -- -- --
60: -- -- -- -- -- -- -- -- -- -- -- -- -- -- -- --
70: -- -- -- -- -- -- -- --
In my case, the LCD address is 3f.
Download the python program, and update the LCD address:
# Define some device parameters
I2C_ADDR  = 0x3F # I2C device address
LCD_WIDTH = 20   # Maximum characters per line
Run the program by typing sudo python lcd_i2c.py and you’ll get a display similar to the image at the top of this post.
This sample program displays system information. For the network part, it is defined by default to display the IP address of wlan0. Replace by eth0 if your PI is connected with a LAN cable.
To execute this python script on a periodic basis, use crontab.
crontab -l will display the existing recurring commands and crontab -e will edit it. Add the below line to execute the script every 5 minutes:
*/5 * * * * sudo python /home/pirate/lcd_i2c.py
Note: Do not forget to specify the right path to your script!
To run it as a service, have a look at fxmartin/python-i2c-lcd.
Credits
- https://gist.github.com/tstellanova/7323116
- http://www.diegoacuna.me/how-to-run-a-script-as-a-service-in-raspberry-pi-raspbian-jessie/
- http://www.root9.net/2012/10/raspberry-pi-lcd-scroller-tutorial.html
- https://learn.pimoroni.com/tutorial/networked-pi/raspberry-pi-system-stats-python
- http://www.cyberciti.biz/faq/linux-find-out-raspberry-pi-gpu-and-arm-cpu-temperature-command/
- https://github.com/sweetpi/python-i2c-lcd
- https://codereview.stackexchange.com/questions/75574/ping-function-in-python